コードやテキスト、ボタンなどをクリックすると、そのコードやテキストがコピーされ、他の場所に貼り付けられるようにしたい場合があります。 Naver カフェ에 WordPressでテキストやリンクなどを押すとテキストがコピーされるようにする方法についての質問が上がってここにまとめてみました。 状況に合わせて適切に応用してご利用ください。
WordPressでテキスト/ボタンをクリックしたときにクリップボードにコピーする方法
たとえば、割引コードやプロモーションコードを表示し、ユーザーがそのコードを押すとコピーする必要がある状況があります。
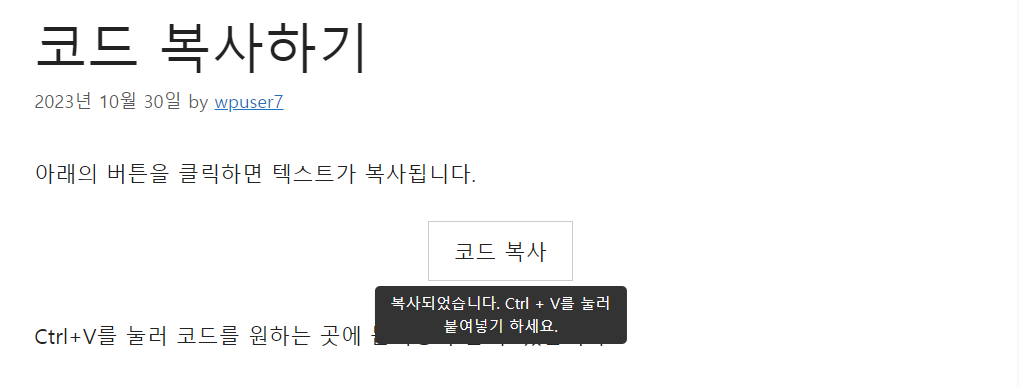
上の図のように、 WordPressでテキストをボタン形式で表示し、テキスト部分を押すと「コピーされました。Ctrl + Vを押して貼り付けてください」というツールチップが表示されるようにする方法について簡単に見てみましょう。
この機能を実装するには、次の方法でアクセスできます。
- テキストをクリックしてコピーし、ツールチップを表示するJavaScriptコードを作成して追加します。
- テーマ関数ファイルにショートコードを作成して追加します。
- CSSコードでボタンとツールチップのスタイルを指定します。
上記の操作は一度だけ実行できます。 上記と手順が完了したら、ショートコードを使用して任意の場所にコピーするテキストをボタン形式で表示できます。
JavaScriptコード
次のJavaScriptコードを追加します。
<script>
// Function to copy text to clipboard
function copyToClipboard(text) {
    var textarea = document.createElement('textarea');
    textarea.value = text;
    document.body.appendChild(textarea);
    textarea.select();
    document.execCommand('copy');
    document.body.removeChild(textarea);
}

// This function will be attached to each "copy-button" when clicked.
function handleCopyClick(e) {
    var textToCopy = e.target.getAttribute('data-clipboard-text');
    copyToClipboard(textToCopy);

    var tooltip = e.target.nextElementSibling;
    tooltip.style.display = "inline-block";

    setTimeout(function() {
        tooltip.style.display = "none";
    }, 2000); // Hide tooltip after 2 seconds

    // Remove event listener to prevent multiple bindings
    e.target.removeEventListener('click', handleCopyClick);
}

// Attach the event listener only when the user clicks on an element with the "copy-button" class
document.body.addEventListener('click', function(e) {
    if (e.target && e.target.classList.contains('copy-button')) {
        e.target.addEventListener('click', handleCopyClick);
        handleCopyClick(e); // handle the first click as well
    }
}, true);
</script>"WordPressでjsスクリプトファイルとスタイルシートを正しくロードする方法「で説明されている方法を使用することをお勧めしますが、この方法が困難または面倒な場合は、WPCodeなどのプラグインを使用してフッタ領域に上記のコードを追加できます。
GeneratePress テーマを使用している場合は、ElementsでHookを作成し、wp_footer領域に上記のコードを追加できます。
テーマ関数ファイルに追加するコード
チャイルドテーマがインストールされていない場合 チャイルドテーマ(子テーマ)を作成し、、テーマ関数ファイル(functions.php)に次のコードを追加します。
/**
 * This function defines a WordPress shortcode named [copytext].
 *
 * The [copytext] shortcode can be used to wrap any text, making it clickable
 * for the purpose of copying that text to the clipboard.
 *
 * When used in a post or page, the enclosed text is wrapped in a <div> with a class of "copy-button".
 * This div is used as the clickable element for copying. The data-clipboard-text attribute
 * stores the actual text to be copied.
 *
 * Additionally, a tooltip in the form of a <span> element follows the <div>.
 * This tooltip is initially hidden and is displayed when the text is clicked,
 * giving feedback to the user that the text has been copied.
 * The tooltip contains the message "복사되었습니다. Ctrl + V를 눌러 붙여넣기 하세요.".
 *
 * @param array $atts - An array of attributes passed to the shortcode. In this function, it's unused.
 * @param string|null $content - The content enclosed between the opening and closing shortcode tags.
 * @return string - The generated HTML output replacing the shortcode.
 */
function copytext_shortcode($atts, $content = null) {
    return '<div class="copy-button" data-clipboard-text="' . esc_attr($content) . '">' . do_shortcode($content) . '</div><span class="copy-tooltip">복사되었습니다. Ctrl + V를 눌러 붙여넣기 하세요.</span>';
}
add_shortcode('copytext', 'copytext_shortcode');
FTPに接続して/wp-content/themes/チャイルド-テーマ-フォルダ/functions.phpファイルに上記のコードを追加するだけです。 FTPの接続方法がわからない場合は、Webホスティング会社にお問い合わせください。 クラウドウェイズを利用する場合はsftpに接続できます。
「コピーされました…」フレーズは適切に変更してください。
カスタムCSSコード
ルックス » カスタマイズ » 追加 CSS または、テーマのスタイルシートファイル(style.css)に次のCSSコードを追加します。
.copy-container {
    display: flex;
    justify-content: center;
    align-items: center;
    height: 100%; /* Adjust this if you want a specific height */
    position: relative; /* Required for positioning tooltip correctly */
	margin-bottom: 30px;
}

.copy-button {
    padding: 10px 20px;
    border: 1px solid #ccc;
    cursor: pointer;
}

.copy-tooltip {
    display: none;
    background-color: #333;
    color: white;
    padding: 5px 10px;
    position: absolute;
    bottom: -50px;
    left: 50%;
    transform: translateX(-50%);
    font-size: 12px;
    border-radius: 4px;
    white-space: nowrap;
    max-width: 200px; /* Set this to your desired maximum width */
    text-align: center; /* This will center-align multi-line content */
    white-space: normal; /* Allows the tooltip text to wrap if it's too long */
}
上記のコードはテキストをボタンスタイルにし、中央揃えにします。 また、ツールチップのスタイルを指定し、ツールチップコンテナの最大幅を制限します。 CSS スタイルは必要に応じて適切に修正してください。
使用方法
上記の作業は一度だけ行うことができます。 上記のタスクがすべて完了したら、コピーするコードまたはテキストを表示する場合は、次のショートコード(ショートコード)形式で追加できます。
[copytext]복사할 텍스트[/copytext]最後に、
テキストを押すとテキストがクリップボードにコピーされる機能 WordPressで実装する例を見てみました。 Gutenberg(ブロックエディタ)のボタンブロックを活用することも可能です。 ボタンブロックのボタンテキストをコピーする方法について後で見てみましょう。

コメントを残す