WordPressでテーマの機能よりもエレメンタページビルダーの機能に主に依存しながらサイトを制作したい場合 Hello Elementor テーマを使用することができます。 エレメンプロを使用する場合、缶のテーマとすることができるHello Elementorを使用すると、エレメントの機能だけでサイト制作が可能です。
こんにちは Elementorを有効にすると ルックス » ウィジェット メニューは表示されません。 サイドバーウィジェットを追加したい場合は、エレメンタのテーマビルダーでテンプレートを作成して直接サイドバーを作成できます。 また、チャイルドテーマを作成し、ウィジェット領域を作成するコードを追加してサイドバーを作成することもできます。 これらのサイドバーも同様にテンプレートから読み込むことができます。
WordPress こんにちは Elementor テーマ:サイドバーウィジェットを追加する
ウィジェットメニューがない場合
一般的な WordPress サイトでは、 ルックス メニューの下に テーマ、カスタマイズ、メニュー、ウィジェット などのサブメニューがあります。
しかし、ブロックテーマやHello Elementor など一部のテーマでは ルックス » ウィジェットが表示されません。
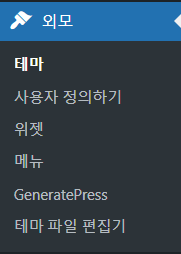
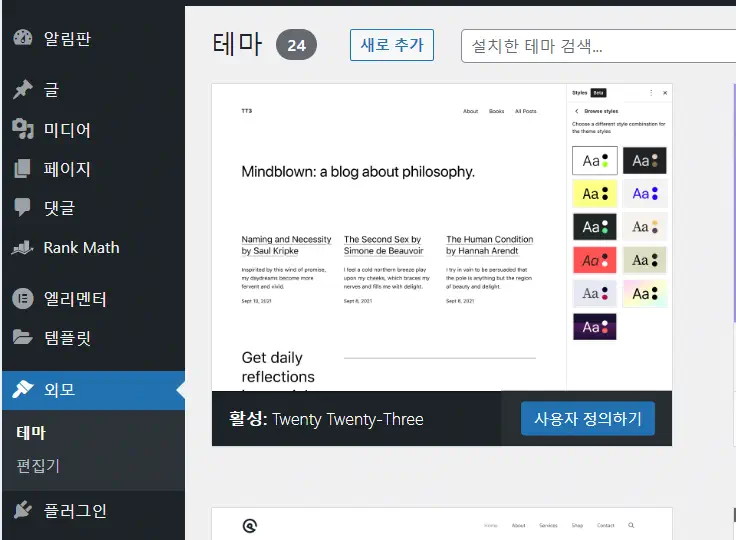
二十三 などブロックテーマの場合、外見の下に テーマ와 편집기 サブメニューのみが表示され、 カスタマイズ、ウィジェット、メニュー などのサブメニューは表示されません。
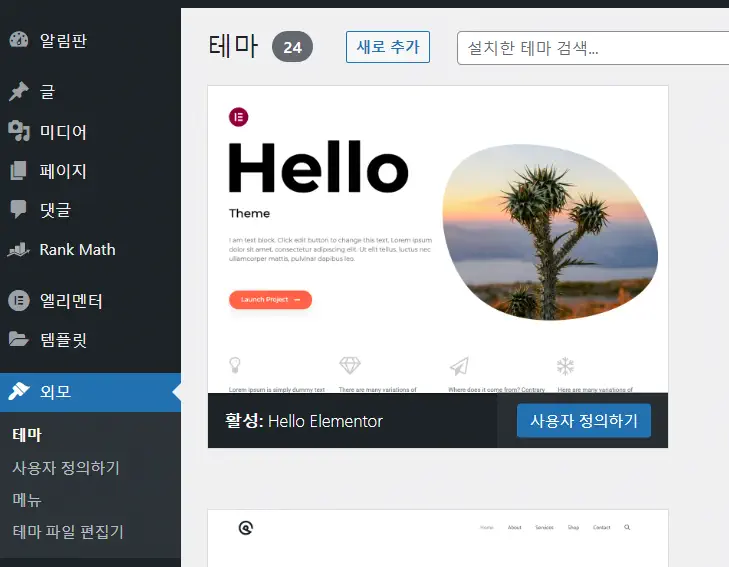
こんにちは Elementor テーマは ウィジェットが表示されません。
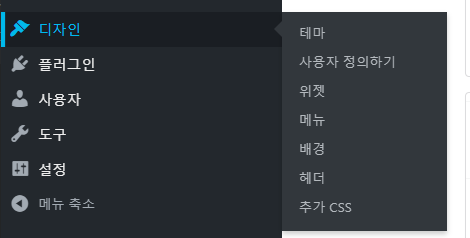
参考までに WordPressドットコム(WordPress。com)は ルックス 代わりに「デザイン「という用語が韓国語版で使われています。
Elementor Helloテーマでサイドバーウィジェットを追加する
Helloテーマでサイドバーウィジェットを追加したい場合は、チャイルドテーマを作成して関数ファイルにウィジェット登録コードを追加できます。 それから ルックス 下に ウィジェット サブメニューが有効になり、ウィジェットを追加できます。 ウィジェット領域は、個々のページだけでなく、シングルポスト(ブログページ)、シングルページ、アーカイブ(カテゴリなど)などのテンプレートから読み込むことができます。
こんにちは Elementor チャイルドテーマのインストール
Helloチャイルドテーマは https://github.com/elementor/hello-theme-childからダウンロードできます。 ダウンロードするのが難しい場合 Naver カフェでHello Elementor 子テーマをダウンロードできます。
チャイルドテーマファイルをダウンロードしたら、アップロード方法でテーマをインストールできます。 WordPress 管理者ページ » ルックス » テーマに移動し、 新たに追加 ボタンをクリックして、ダウンロードしたチャイルドテーマファイルをアップロードしてインストールして有効にします。
サイドバーを登録する
Helloチャイルドテーマがインストールされている場合は、FTPでアクセスしてチャイルドテーマフォルダ(例: / WP-コンテンツ/themes/hello-theme-child-master)に移動します。
functions.php ファイルを開き、次のコードを追加します。
if (function_exists("register_sidebar")) {
  register_sidebar();
}
上記のコードは、エレメントによって提示されるウィジェット登録コードです。 上記のコードを追加すると、デバッグモードで次の警告が表示されます。
Notice: Function register_sidebar was called incorrectly. No id was set in the arguments array for the "Sidebar 1" sidebar. Defaulting to "sidebar-1". Manually set the id to "sidebar-1" to silence this notice and keep existing sidebar content. Please see Debugging in WordPress for more information. (This message was added in version 4.2.0.) in /public_html/wp-includes/functions.php on line 5865

Notice: 함수 register_sidebar이(가) 바르지 않게 호출됐습니다. “사이드바 1” 사이드바에 대한 인자 배열에 id을(를) 설정하지 않았습니다. 기본 값은 “sidebar-1”입니다. 이 알림을 무시하고 사이드바 콘텐츠를 유지하려면 id에 “sidebar-1”을 직접 설정하세요. 더 자세한 정보는 WordPress 디버깅하기를 보세요. (이 메세지는 버전 4.2.0에서 추가되었습니다.) in /public_html/wp-includes/functions.php on line 5865
上記の警告は無視できますが、この警告が表示されないようにしたい場合は、上記のウィジェット登録コードの代わりに次のコードを追加できます。
if (function_exists('register_sidebar')) {
    register_sidebar(array(
        'id'            => 'unique-sidebar-id', // Unique ID for your sidebar
        'name'          => __('Sidebar Name', 'textdomain'), // Visible name for your sidebar
        'description'   => __('Description for your sidebar.', 'textdomain'), // Description of your sidebar
        'before_widget' => '<li id="%1$s" class="widget %2$s">', // HTML to use before each widget
        'after_widget'  => '</li>', // HTML to use after each widget
        'before_title'  => '<h2 class="widgettitle">', // HTML to use before each widget title
        'after_title'   => '</h2>', // HTML to use after each widget title
    ));
}
今 ルックス » ウィジェット メニューが表示され、サイドバー領域にウィジェットを追加できます。
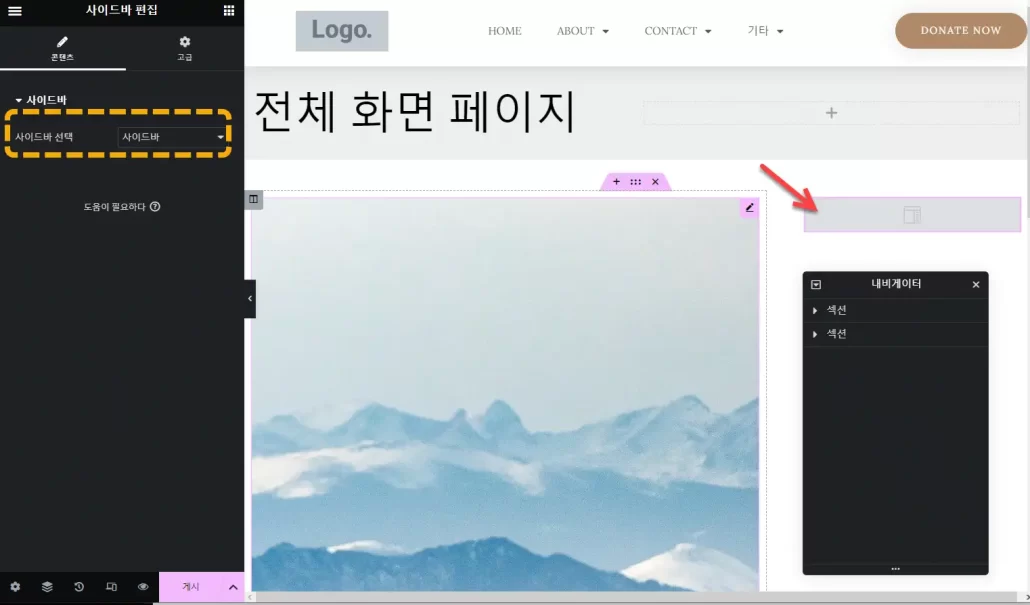
エレメント編集画面で サイドバー 要素を任意の場所に配置し、サイドバーウィジェットを指定できます。 たとえば、2ページでXNUMX列に構成し、右側にサイドバーを追加できます。
以下は Elementor Proのテーマビルダーでシングルページテンプレートを作成し、シングルページブロックを読み込み、カスタムサイドバーを指定することを示しています。
サイドバースタイルはCSSを使用して調整できます。 例:
.elementor-widget-container > li {
    list-style-type: none;
}

.widget li {
    color: #333; /* Dark grey text color */
    font-size: 16px; /* Font size */
    line-height: 1.5; /* Spacing between lines of text */
    padding-left: 30px; /* Space before the text to allow for custom bullet */
    position: relative; /* Allows us to position the custom bullet */
    margin-bottom: 10px; /* Space between list items */
}

.widget li:before {
    content: ""; /* This is necessary for the pseudo-element to work */
    position: absolute; /* Positions the bullet relative to the list item */
    left: 0; /* Positions the bullet at the start of the text */
    top: 50%; /* Centers the bullet with the text */
    width: 6px; /* Width of the custom bullet */
    height: 6px; /* Height of the custom bullet */
    margin-top: -3px; /* Half of the height to center the bullet */
    background: #333; /* Color of the bullet */
    border-radius: 50%; /* Makes the bullet circular */
}

.widget li:hover {
    color: #0073aa; /* Change text color on hover */
}

.widget li:hover:before {
    background: #0073aa; /* Change bullet color on hover */
}
コメントを残す